7 Melt & Pour Soap Kits For Beginners
Here are the best melt and pour soap kits for beginners.
For those eager to dip their toes into the world of soap crafting without the complexities of traditional soap-making methods, melt and pour soap kits offer a delightful and beginner-friendly entry point.
These kits provide a hassle-free experience, allowing you to create beautiful, personalized soaps with minimal effort and maximum creativity.

In this guide, we’ve curated a list of the best melt and pour soap kits that cater specifically to beginners, ensuring an enjoyable and rewarding introduction to the art of soap making.
Best Melt and Pour soap kits for beginners
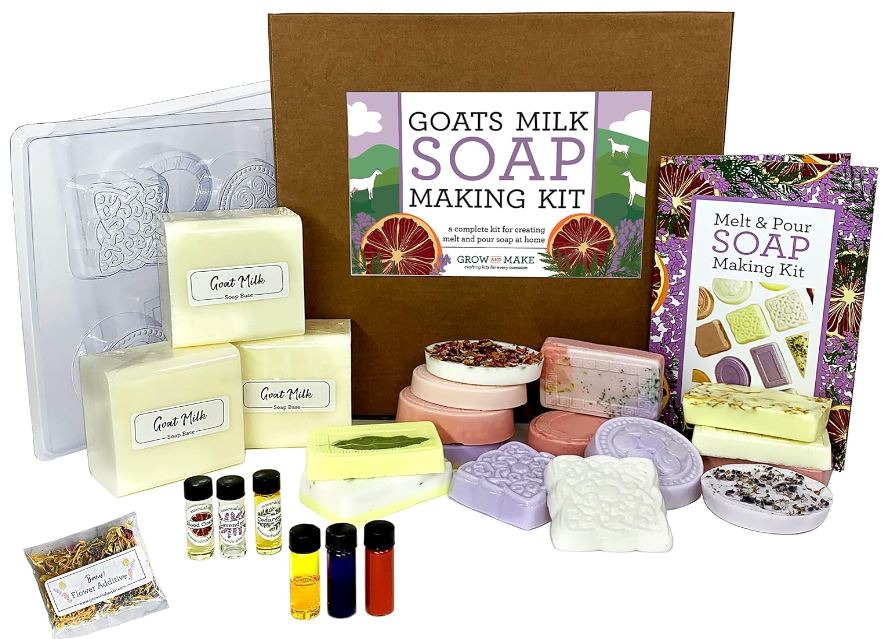
1. Deluxe Goat Milk Soap Kit
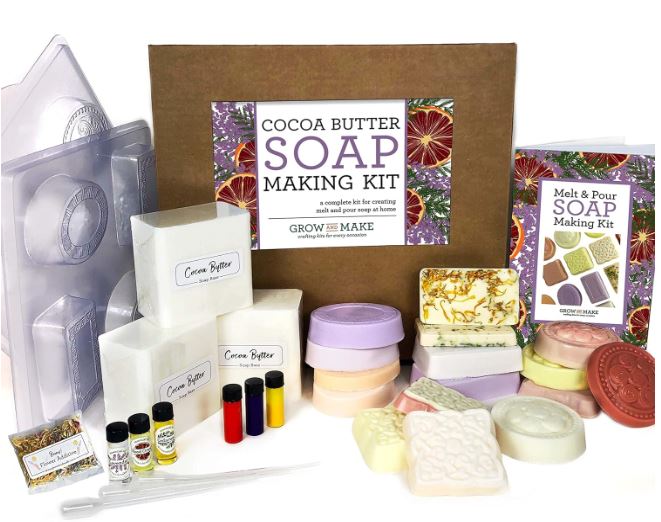
2. Cocoa Butter Soap Kit
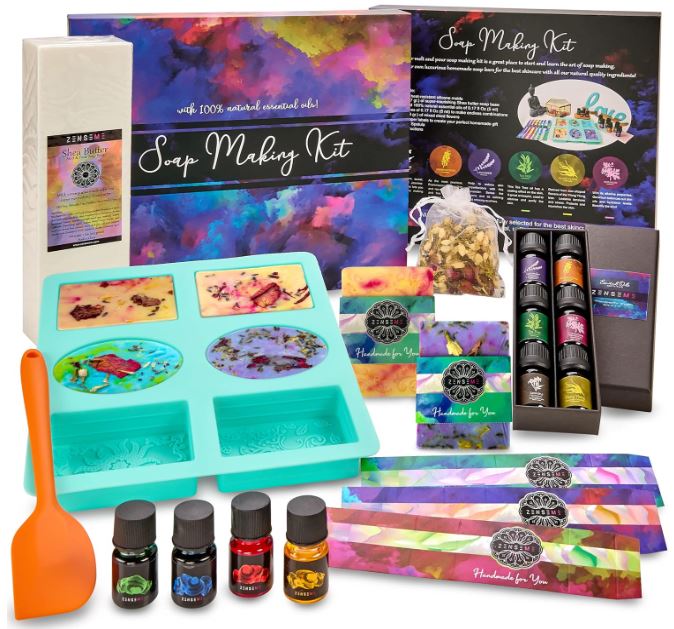
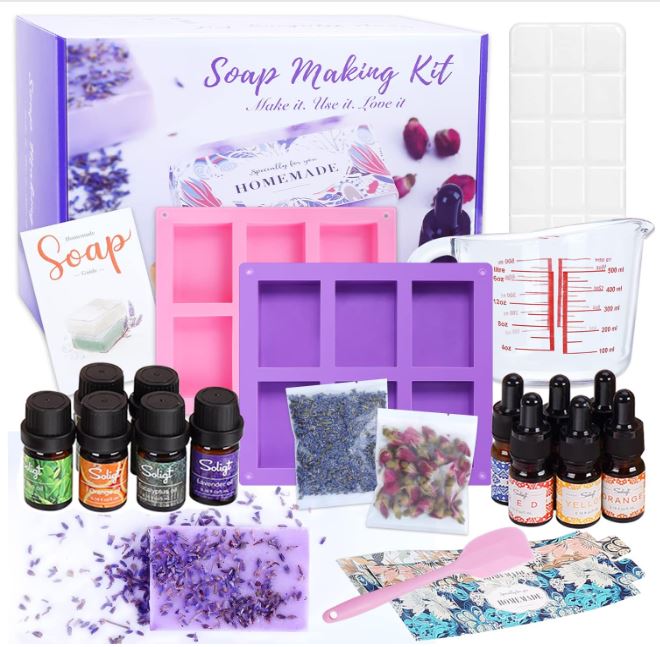
3. Soap making kit for adults
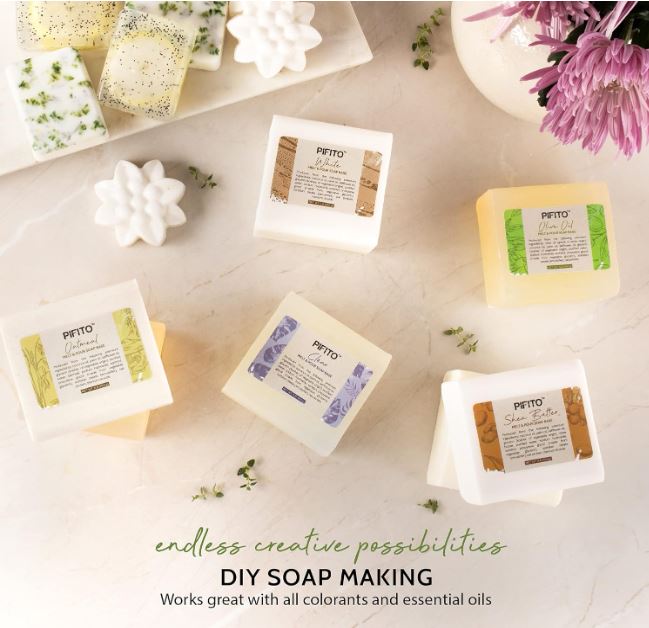
4. Melt & pour soap base sampler
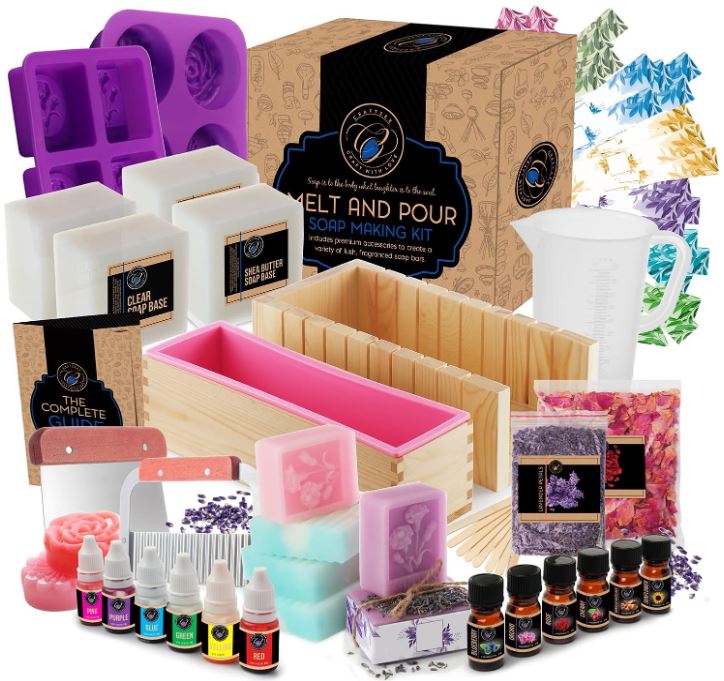
5. Large Soapmaking Kit
6. Shea Butter Soapmaking Kit
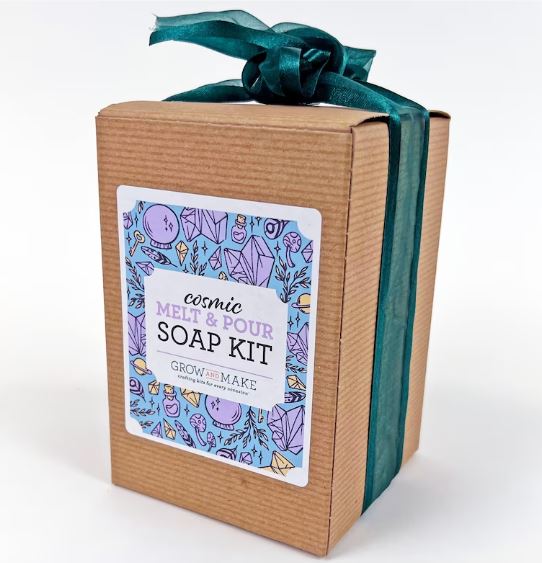
7. Cosmic Melt Soap Making Kit
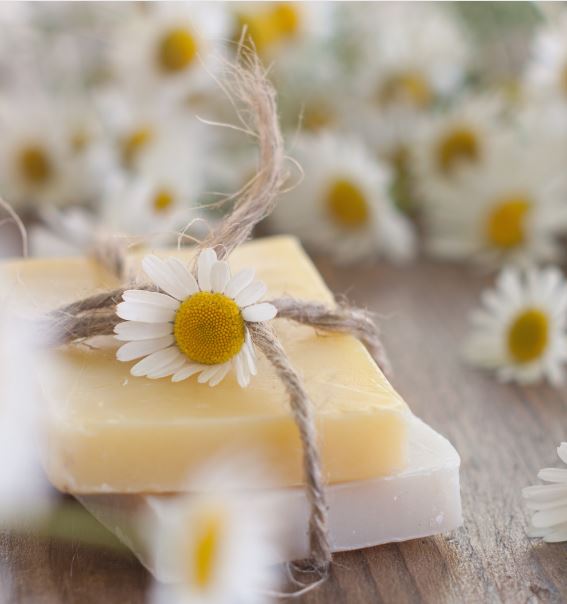
Handmade soap makes a great gift
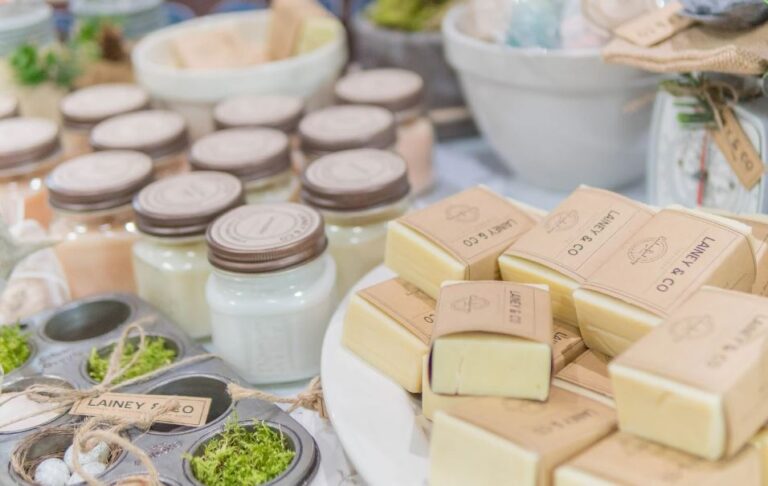
Handmade soap is a thoughtful and unique gift for that goes beyond ordinary gestures. The personal touch of crafting soap imbues each bar with care and intention, making it a special and meaningful present.
With the ability to customize scents, colors, and textures, handmade soap allows you to tailor the gift to the recipient’s preferences, creating a sensory experience that resonates with them.
Not only does it showcase your creativity, but it also reflects the time and effort you’ve invested. This makes handmade soap a delightful and cherished gift for any occasion. And bonus, they are budget friendly gifts as well.
Tips for making melt and pour soap
1. Choose High-Quality Soap Bases
Begin your soap-making journey with a premium melt and pour soap base. Opt for bases made with quality ingredients, as this lays the foundation for a soap that feels luxurious and performs well.
Look for options that are free from harsh chemicals and additives, ensuring a gentle and nourishing product for your skin.
2. Use the Right Tools and Equipment
Having the appropriate tools is crucial for a smooth soap-making process. Invest in heat-resistant containers, stirring utensils, and molds specifically designed for melt and pour soap.
This ensures that you can work efficiently and produce professional-looking soaps without any mishaps.
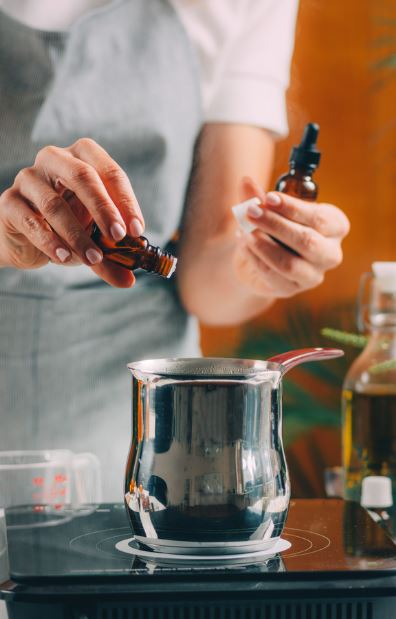
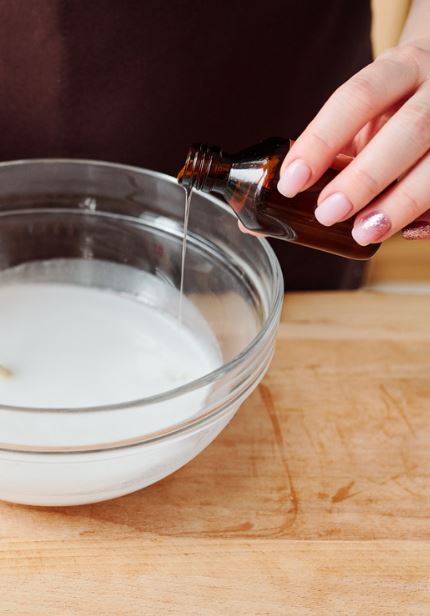
3. Additives and Essential Oils
Incorporate additives such as essential oils, herbs, or exfoliants for texture.
Follow recommended usage rates to avoid skin irritation and maintain the soap’s integrity. Experimenting with various combinations can lead to unique and delightful results.
Be sure to follow all guidelines in your area if you are making crafts to sell at a craft show.
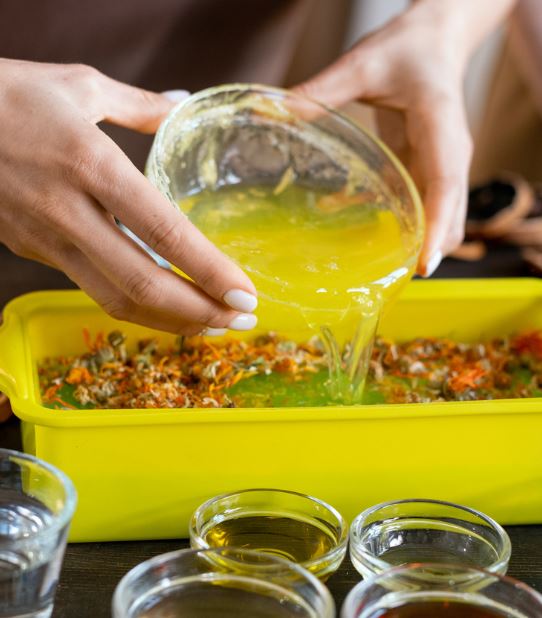
4. Temperature Control
Melt and pour soap is sensitive to temperature changes, so it’s crucial to control the heat during the melting and pouring stages.
Use a microwave or double boiler method, and avoid overheating the soap base.
Overheating can cause loss of fragrance, color changes, and a less-than-ideal texture. Follow the recommended temperature guidelines for your chosen soap base.
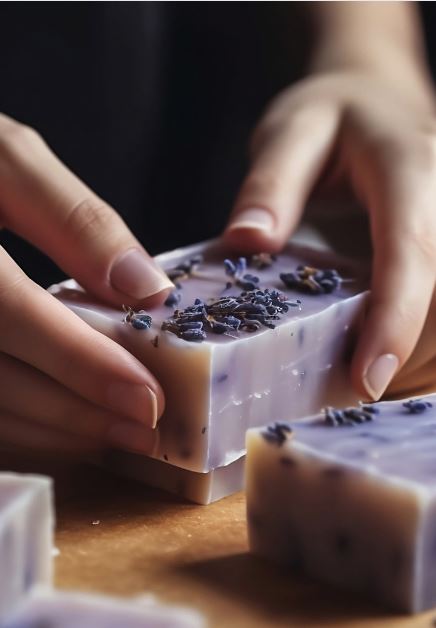
5. Layering
Allow each layer of your soap to solidify before adding the next. Patience is key when working with melt and pour soap to achieve distinct layers without unintended blending. Rushing the process can lead to uneven results.
Take your time, follow the instructions, and enjoy the creative and therapeutic aspects of soap making.
FAQ’s about melt and pour soap kits
Yes, you can customize your soap by adding various ingredients like essential oils, herbs, or exfoliants.
However, it’s crucial to follow recommended guidelines for usage rates to maintain the soap’s integrity and avoid potential skin irritation.
To minimize air bubbles, stir the melted soap base gently and avoid vigorous mixing. If bubbles form while pouring into the mold, lightly spritz the surface with rubbing alcohol to break them.
Additionally, tapping the mold on a counter can help release trapped air.
Yes, you can reheat melt and pour soap, but it’s essential to do so with caution. Use short bursts of low heat, either in a microwave or a double boiler, and stir frequently.
Be mindful not to overheat, as this can affect the soap’s texture, color, and fragrance.
The time it takes for melt and pour soap to harden depends on factors like room temperature and the size and complexity of your soap design.
Generally, it takes 1 to 2 hours for the soap to fully solidify. For intricate designs or layered soaps, it may take longer. Allow ample time for each layer to set before adding the next.
While it’s possible to use food coloring, it’s recommended to use soap-specific colorants. Food coloring may not disperse evenly, and some colors can morph or fade over time.
Soap colorants are designed to maintain their vibrancy and won’t compromise the soap’s texture or fragrance.

Thank you for delving into the world of melt and pour soap making with us!
We hope these tips have sparked your creativity and armed you with the knowledge to embark on your soap crafting journey with confidence.
Remember, patience is key, and experimentation is part of the fun. Happy soap crafting, and may your creations bring joy and freshness to your daily routine!
Thanks for reading, and here’s to your soap-making success!
If you love to make your own bath and body goodies, check out our Lavender Mint Sugar Scrub recipe! For those who want to try selling your handmade soap, here are some top sellers on Etsy for inspiration.
And check out who made our list this year of the best Etsy bath & body shops.