
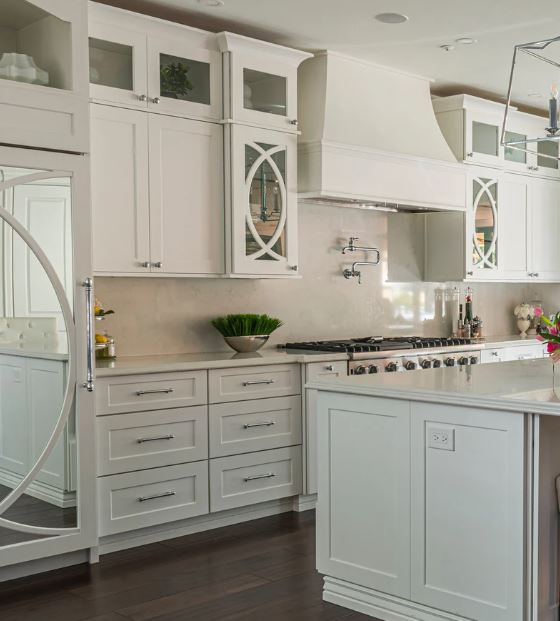
30 Day Kitchen Organizing Plan 📅✅
Welcome to the ultimate kitchen transformation challenge! If you’ve ever found yourself staring into the abyss of a cluttered kitchen, longing for a more organized and efficient space, you’re in the right place.
Over the next 30 days, we’ll declutter, streamline, and revitalize your kitchen – turning it into the haven you want.
In this 30-day plan, we’ll tackle every nook and cranny of your kitchen, from the countertops to the depths of your pantry.
Each day has easy specific tasks designed to gradually transform your kitchen into a well-organized, stress-free zone.
Get ready to bid farewell to the chaos and welcome a kitchen that not only serves your practical needs but also reflects your unique style.
Join us on this journey, and let’s create a space where cooking becomes a joy, and every utensil has its place. Let the 30-day kitchen organizing challenge begin!
Ready, set, organize! 🌟🍴
Organizing A Kitchen In 30 days
Day 1: Assess and Plan
- Take stock of your kitchen tools, utensils, and appliances.
- Identify items you rarely use and consider donating or storing them elsewhere.
- Plan where you want to keep frequently used items for easy access.
Day 2: Declutter the Countertops
- Clear off unnecessary items from your countertops.
- Organize appliances and utensils you use daily in a designated area.
- Wipe down and clean the countertops and front of all cupboards.
Pro tip: Use mason jars to hold extra wooden spoons and utensils for the pantry.
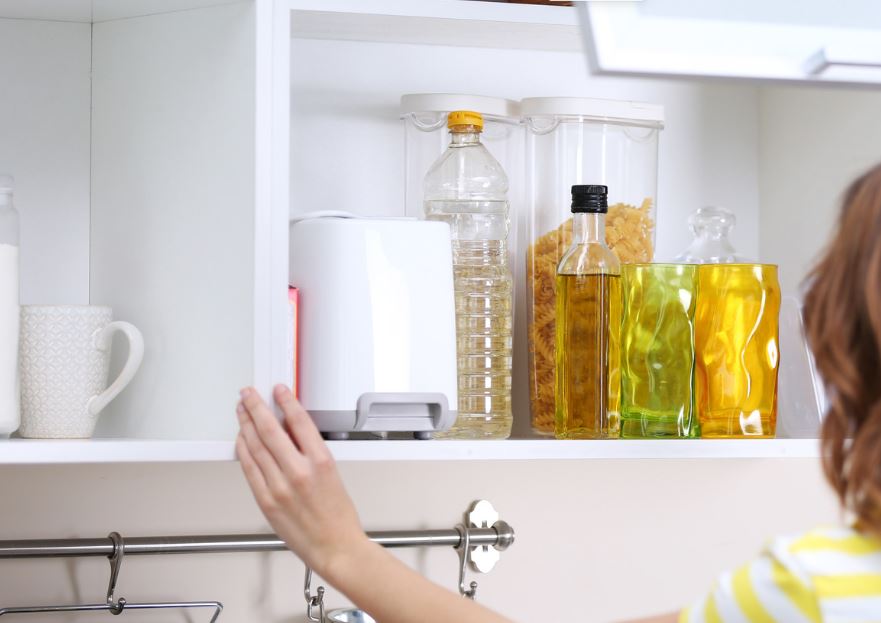
Day 3: Organize Pantry
- Sort through pantry items, checking expiration dates.
- Group similar items together and use containers or baskets for organization.
- Consider labeling shelves for easy identification.
If you have a large pantry, we have pantry organization tips.
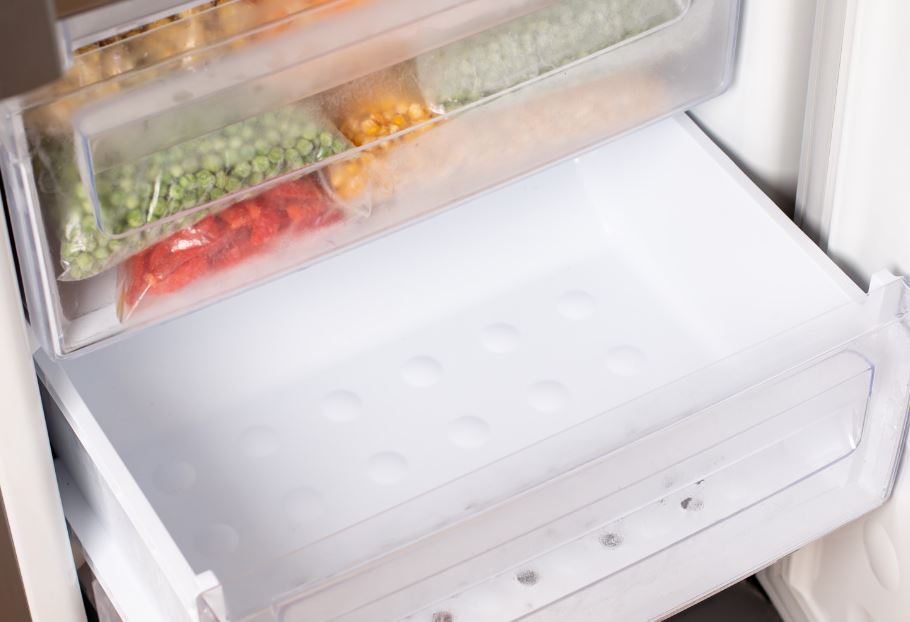
Day 4: Tackle Refrigerator and Freezer
- Empty and clean your fridge and freezer.
- Discard expired or unused items.
- Organize food items by category and use clear containers if possible.
Day 5: Utensil Drawer Overhaul
- Empty and clean your utensil drawer.
- Keep only essential utensils and tools.
- Use drawer organizers to keep things neat.
Day 6: Organize Pots and Pans
- Arrange pots, pans, and lids in a way that is easily accessible.
- Consider hanging pots and pans if space allows.
- Store lids in a separate drawer or rack.
Day 7: Clean and Organize Cabinets
- Empty and clean cabinets.
- Sort and organize dishes, bowls, and glassware.
- Donate or store items that you rarely use.
We have some ideas on how you can use white vinegar for cleaning.
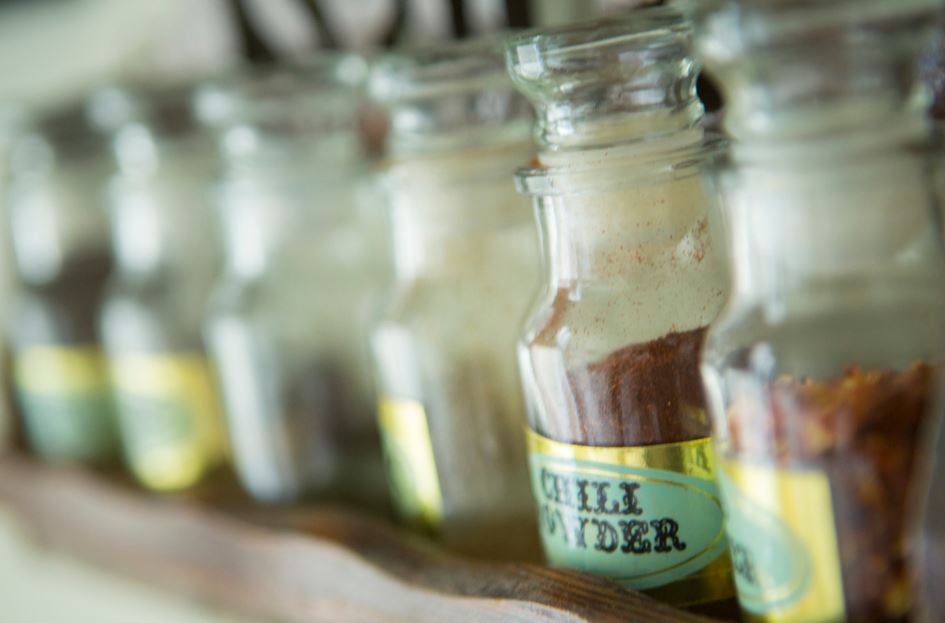
Day 8: Spice Rack Cleanup
- Check spice expiration dates and discard old spices.
- Arrange spices in a way that makes them easily visible and accessible.
- Consider using a spice organizer or rack.
Day 9: Tackle the Sink Area
- Declutter the sink area by putting away dishes and cleaning supplies.
- Organize cleaning supplies under the sink.
- Wipe down the sink and faucet.
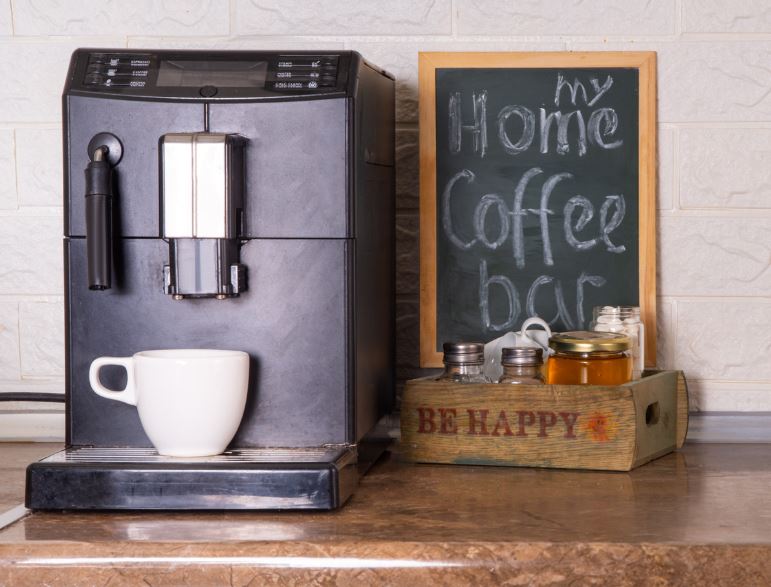
Day 10: Create a Coffee/Tea Station
- If you’re a coffee or tea drinker, designate a specific area for your supplies.
- Organize mugs, coffee/tea makers, and accessories.
- Keep it tidy and easily accessible.
Day 11: Sort and Organize Tupperware
- Match lids with containers and recycle any unmatched ones.
- Use stackable containers to save space.
- Keep frequently used containers within easy reach.
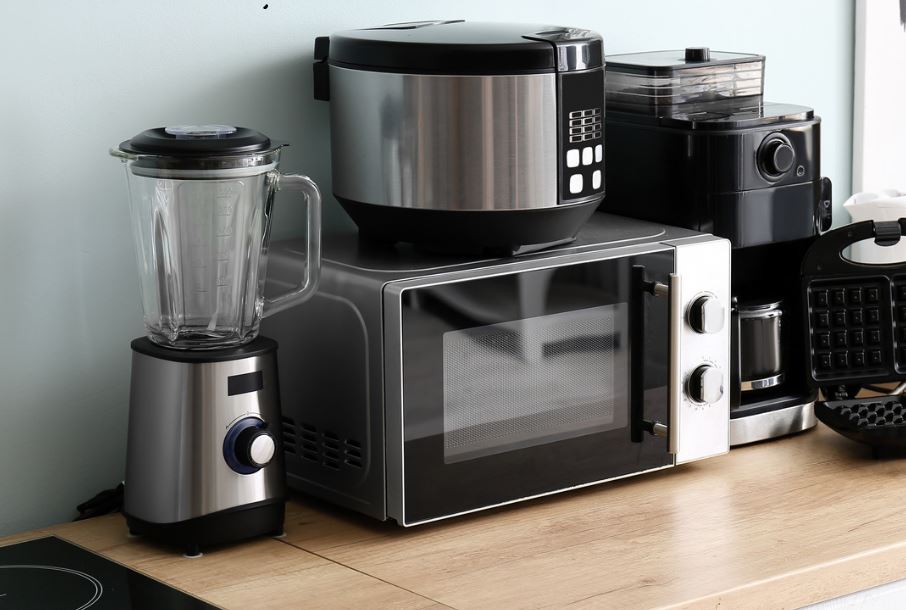
Day 12: Evaluate Small Appliances
- Review your small kitchen appliances.
- Keep only the ones you regularly use and store them neatly.
- Consider donating or storing appliances that are seldom used.
Day 13: Clean and Organize Baking Supplies
- Sort through baking pans, sheets, and tools.
- Organize baking ingredients and supplies.
- Create a designated baking area if possible.
Day 14: Final Touches and Maintenance
- Take a final look at your organized kitchen.
- Make any adjustments to improve functionality.
- Establish a routine for daily maintenance to keep things organized.
Day 15: Evaluate and Organize Cleaning Supplies
- Assess your cleaning supplies and declutter any unused or expired products.
- Organize cleaning supplies in a designated area for easy access.
- Consider using caddies or bins to keep everything in order.
Day 16: Meal Planning
- Create a designated space for meal planning materials, such as a calendar or whiteboard.
- Organize recipes, meal plans, and grocery lists in one accessible location.
- Another way to meal plan is to download a meal planner from Etsy that you can print out. Or download our free weekly meal planner.

Day 17: Junk Drawer Cleanup
- Empty and organize the notorious “junk drawer.”
- Discard unnecessary items and use small organizers to keep essential items in order.
Day 18: Designate a Charging Station
- If you often charge electronic devices in the kitchen, create a charging station.
- Organize charging cables and devices in a neat and accessible manner.
Day 19: Assess and Organize Snack Storage
- Evaluate your snack storage area.
- Use bins or baskets to organize snacks by type or family member.
- Keep healthier options at eye level for easy access.

Day 20: Kitchen Linens Organization
- Sort through kitchen towels, dishcloths, and pot holders.
- Declutter and organize linens in a designated drawer or cupboard.
- Consider using hooks or hangers for easy access.
Day 21: Establish a Recycling Center
- Create a recycling station for paper, plastic, glass, and other recyclables.
- Clearly label recycling bins for easy sorting.
- Make it a habit to recycle regularly.
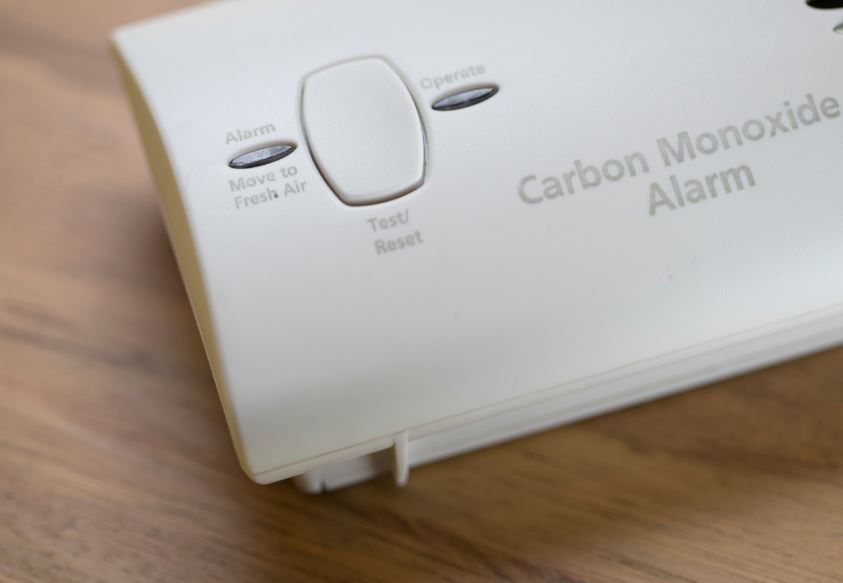
Day 22: Kitchen Safety Check
- Evaluate the safety of your kitchen.
- Check and replace fire extinguishers, smoke detectors, and any other safety equipment.
- Ensure that emergency contact information is easily accessible.
- Purchase a carbon monoxide detector.
Day 23: Menu and Recipe Organization
- Organize your favorite recipes and menus.
- Consider creating a recipe binder or using a digital recipe organizer.
- Sort recipes by category for quick reference.
Day 24: Cookware Maintenance
- Check the condition of your cookware.
- Address any issues like scratches or damage.
- Consider re-seasoning cast iron pans if necessary.
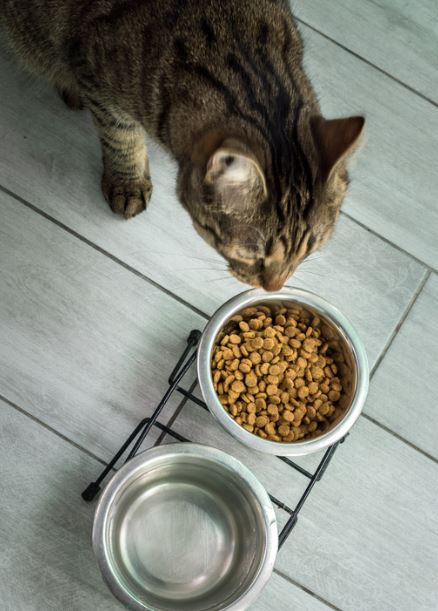
Day 25: Pet-Friendly Zone
- If you have pets, designate an area for their food and supplies.
- Organize pet food, bowls, and toys in a convenient location.
- Keep the area easily accessible for feeding and care.
Day 26: Evaluate and Organize Medications
- Check your kitchen for any medications.
- Discard expired medications and organize the rest in a safe and accessible place.
Day 27: Create a “Donate” Box
- Go through your kitchen items and create a box for donation.
- Include any duplicates, items you no longer need, or excess kitchen gadgets.
Day 28: Labeling and Inventory
- Consider labeling shelves, containers, and bins for easy identification.
- Create an inventory list of pantry and freezer items.
- This helps prevent overbuying and ensures you use what you have.
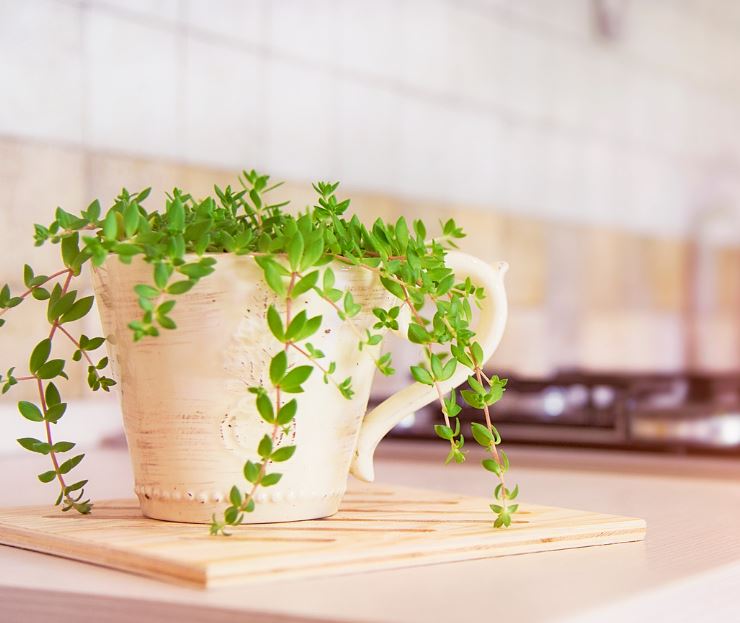
Day 29: Personalized Touches
- Add personal touches to your organized kitchen, such as artwork or plants.
- Make the space feel inviting and reflective of your style.
Day 30: Celebration and Maintenance
- Take a moment to celebrate your organized kitchen!
- Establish a monthly maintenance routine to keep things tidy.
- Reward yourself with a special meal prepared in your newly organized kitchen.

In closing: Congratulations on completing the 30-day kitchen organizing challenge! Your dedication to making your kitchen a well-organized haven is truly commendable. Home organizing feels fantastic doesn’t it?
A huge thank you for taking the time to follow our daily tasks and tips. Remember, maintaining an organized kitchen is an ongoing process, and your efforts will undoubtedly pay off in the long run. You can do these steps for a large or small kitchen.
If you have any questions or want to share your success stories, feel free to leave a comment.
Happy cooking and organizing! 🌟🍽️.